
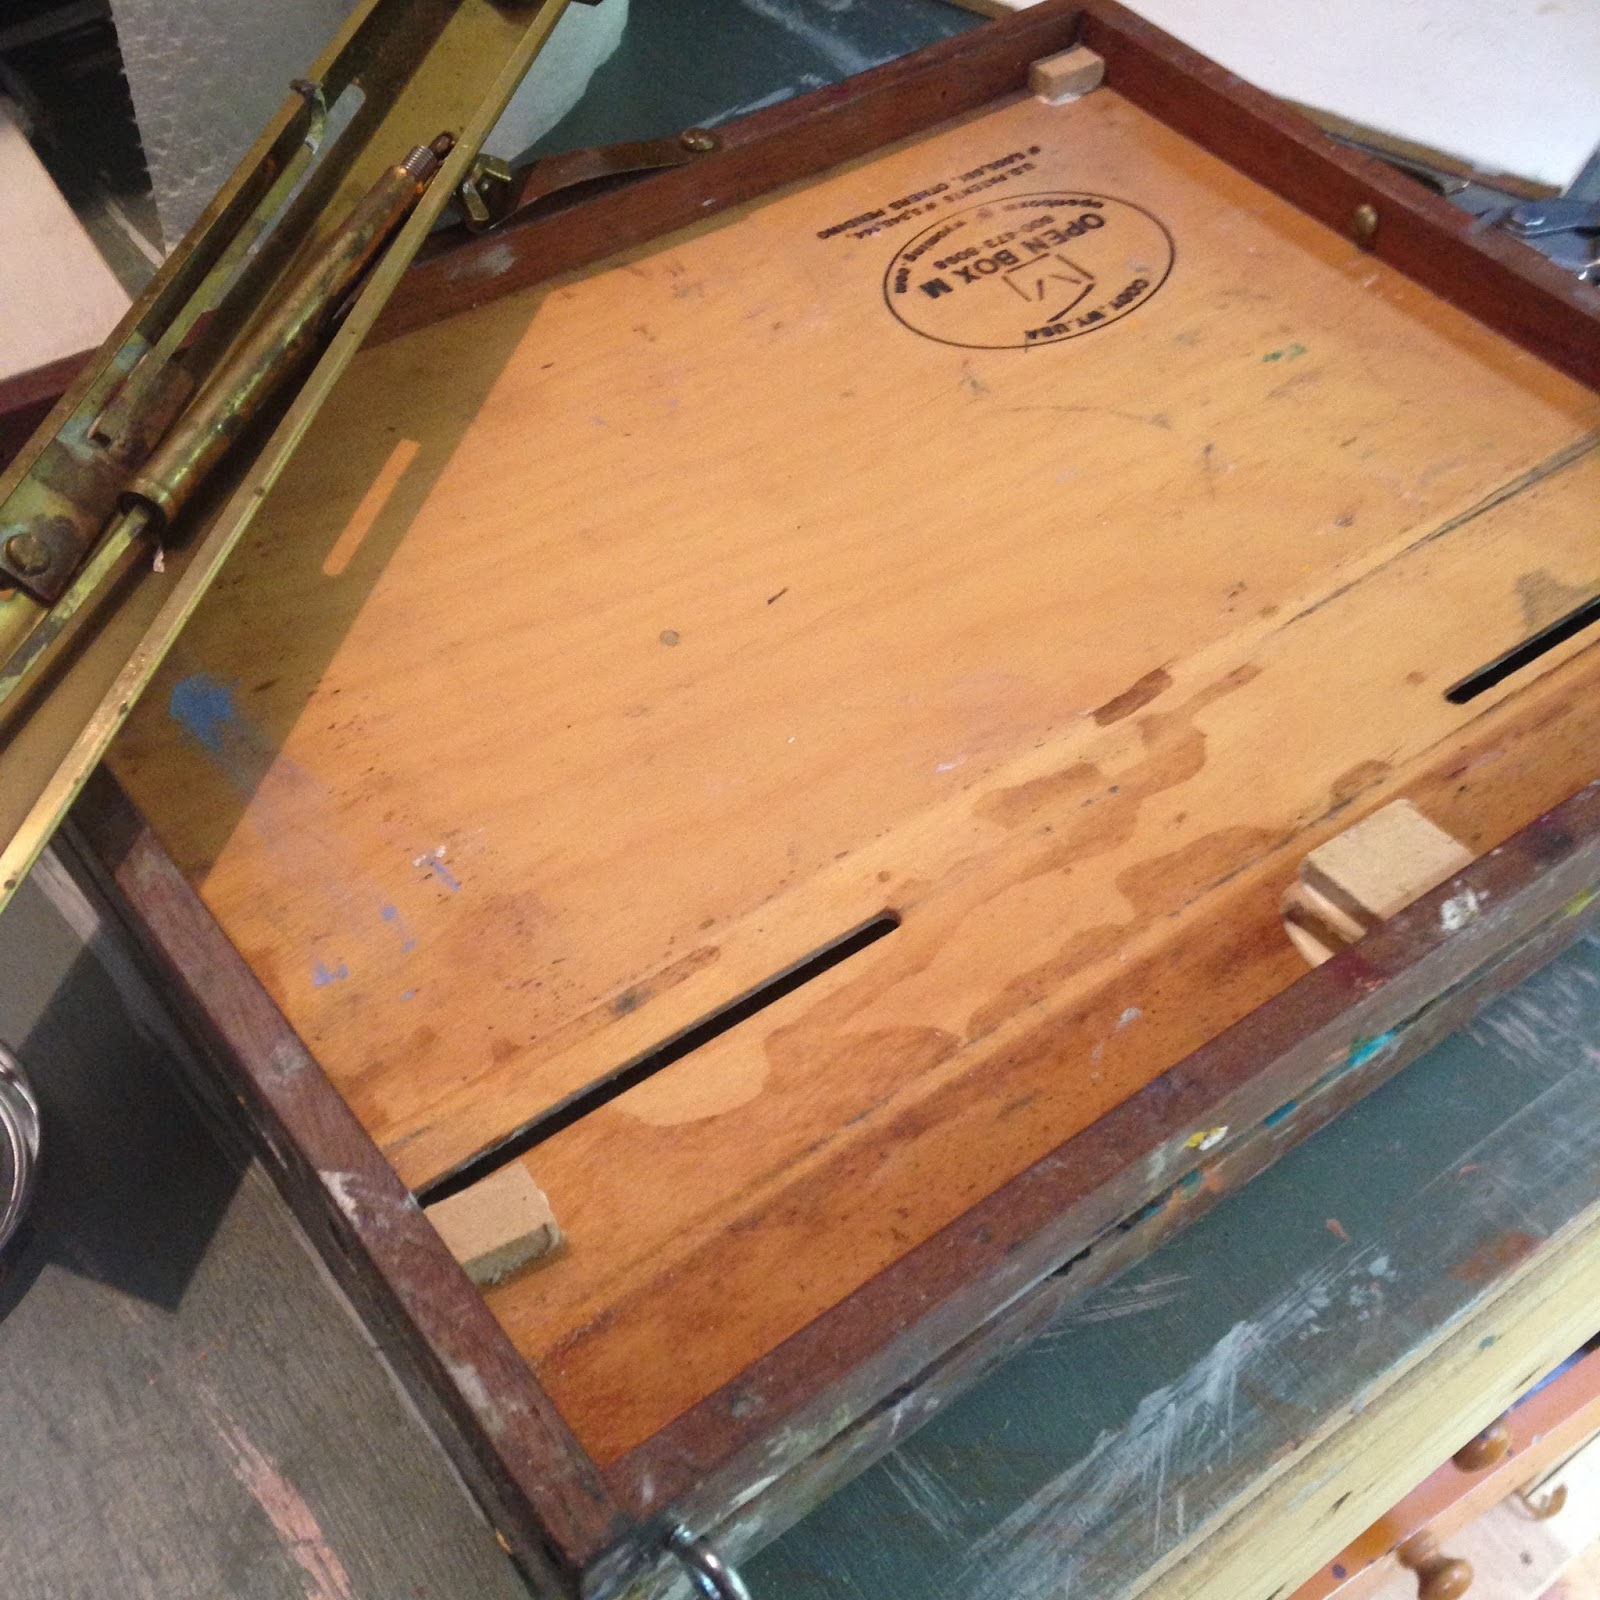
Opening the box to a completely vertical setting did provide a clear view of the panel and palette (a parallel palette) but it also had much more give due to my cheap tripod. So here is what I came up with.

My new setup involves a lot of clamps and bungie cords. I would imagine that for most people this would be to much of a pain, but I've found that spending a few extra minutes setting up really doesn't impact the overall time needed to do a painting (unless it's a light effect that will be gone in five minutes). I've actually found that putting everything together gives me a chance to relax and get focused.
The first thing I needed for this conversion was a tripod that stood tall enough to keep my panel at eye level. I'm not very tall, so I opted for a 72" model polaroid tripod I found on Amazon. As I mentioned in a previous post, I hope to eventually replace this with a carbon fiber version that will last me a lifetime, but it is not presently in the budget and this one works great!
I then came up with a way to secure my panel to the board that is screwed into the quick plate. The 9" x 6.5" board is just simply a panel with a block on the back that has a a 3/8" screw adapter that I got at Home Depot. I've glued a ridge to support the bottom of the panel and use small bungie cords to provide downward pressure from the top. This has worked out amazingly well. It's very cheap and I can paint to the edge of all sides of the panel except on the very small ridge at the bottom. (NOTE: the downside to this is that if you are not paying attention a bungie cord can turn into a projectile!)

I have to carry several bungie cords with me if I am varying the size of my panels.

 |
| If the panel is shorter than the board you can go around the edges. |
Mounting my Open Box M to the bottom of the tripod proved a little more tricky and what I do only works with the cheaper easels that have support bars that connect the three legs. The support for the box is essentially a piece of plywood with a hook cut to go around the center post (you could also use some of the commercial versions for providing a support). The board is secured with three bulldog clips or one pony clamp on the hook. I didn't like the bulky nature of the pony clamp so I recently switched, but there are several types of clamps that would work.
 |
| The board is 13.25" x 11" and fits easily in my backpack |
 |
| Bulldog clips can be found at office supply stores but are much less expensive online |
I then open my pochade to the natural angle of the tripod and board to secure it with three 10" bungie cords, two connected at the bottom and one on top. There is enough tension between all these elements that the only play is due to the quality of the tripod (and it's not enough to notice). For me it has been more sturdy than anything I have ever used, with the exception of my studio easel.

 |
You can see in the above photograph that I added screw eyes to create a place for the bungie cords to connect to the hooks. You can also see in this photo how the board extends behind the box. This is where I store my extra brushes in a rolled up bamboo brush holder. I hold most of my brushes in my left hand.

One of the other things I mentioned in my "Weight and Worry" post was that I no longer hold a roll of paper towels in my hand but rather I connect a terry cloth rag to the portion of the poached box that is normally used to hold the panel.

I fold the terry cloth over and stick it between the tripod legs and the box which holds it in place. In normal wind conditions it works just fine (haven't dealt with anything to brisk as of yet, another cord would do the trick if things got dicey!). The only problem with this has been the panel posts that stick through the slots on the box. In removing those I discovered that the area on the back provided just enough space for a homemade 9" x 12" panel holder!


Since I no longer use Turpentine to clean my brushes while painting, the only other thing this setup needed was a spot to put my Liquin and palette knife.
 |
| The slot is to secure it to the bottom section of the box |
 |
| worms eye view of the connection, bearded sage looming above. |
 |
| the border is there to keep me from knocking the bottle over. So far it has worked. |
 |
| My palette knife is not pictured here but I stick it between the bottle and the box. |
The backpack I carry all this in is less than perfect, though it does have a lot of room and is an L.L. Bean tank. I have trudged it all over the place and it's not even close to wearing out. At some point I will buy another one that has compartments that are more suitable to my needs, but for now I just separate most things with Ziplock Slider Bags which have worked great and are very easy to open and close. I think the bag itself may be a significant portion of the weight that I am carrying, but I have yet to weigh it separately to find out.
Here is a list of the other items I carry
Brushes - this is one of my heaviest items, I carry a lot so I don't have to clean while painting.
Paper towels in a Tupperware container - These are cut into fourths and I only use about one whole paper towel a session to clean my palette with. I formerly stored these in a ziplock bag but they were to hard to get out quickly.
Paint - I keep these in a plastic container for easy access. I would like to be proficient enough to keep just a few small tubes (paint weighs a lot!), but not having to mix orange, purple, and teal saves me time, and the two greens have proven very useful.
Windshield Shade - To keep the sun off my palette
Leathermen Tool - Heavy, and would like to leave it out but it seems like something always comes up.
Latex Gloves - Not so much worried about the poisons, but I'm just REALLY messy. So I put the gloves on first thing and take them off last thing. A little hot in the summer. I still manage to find Viridian on things I haven't even touched... can't figure out why it's alway Viridian!
Sketchbook - So far I haven't used it this year.
Welders Glass - Recommended by Marc Dalessio, keep forgetting to use it.
Mechanical Pencil / Eraser - (see sketchbook)
Liquin - I keep this in an old Bayer Aspirin Bottle. Has never leaked. This would go into the category of they don't make things like they used to. Look for your containers at antique stores!
Plastic Grocery Bag - I throw my terry cloth rag and paper towels in this at the end of the session. There is a useless front slot on my backpack that I slide used paper towels into while painting... well I guess that makes it useful.
I keep bug spray, sunblock and Turpentine in my truck. I've never been away from it long enough to keep them in my bag.
I hope that you find this helpful. I realize that my use of the Open Box M no longer resembles it's original intent but I still love it's light weight design, it's hinging mechanism and it's adaptability. It's common sense construction made it really easy to modify and wood just makes me feel good.


